How I set up this blog
Before you spend you precious time reading this, you should know that this is not the best how-to post on setting up a Jekyll blog. There are loads of excellent resources that can help you do that, the main Jekyll site itself is the best IMO. This is just me putting down everything I did in case I ever need to do it again and that might help you as well. I hate it when I have to re-learn stuff (it happens often).
Rough steps of putting this together
- Procrastinate for 3 years
- Name & domain
- Logo
- Procrastinate some more
- Blog tech setup
- Make design changes - Favicon, CSS
- Setup SSL & custom domain
- Optimise for SEO
- Add email capture form
Procrastinate for 3 years
I first thought of starting a blog 3 years ago. I started off by writing a little bit on Medium and then re-posting that stuff to Linkedin. But soon the initiative fizzled out and I got busy with my new job. “Blog” remained on my to-do list for 3 years. Needless to say, I highly recommend you skip this step entirely in case you’re thinking of starting your own blog (or do anything really).
Pick a name & buy a domain
After quitting my job in December 2018, hoping to figure out something of my own (it feels weird to say startup), I found a lot of time on my hands. Even after all the Netflix and chilling. I also became, simultaneously, bored of watching movies back to back and extremely paranoid about where my life was headed. Either may have had something to do with the other. Anyhoo, once I got around to question every single life decision, especially the one that ensured I would no longer get money deposited in my bank account every month, I decided I need to do something meaningful. Something I could look back on at the end of this planned 6-month-time-off-from-a-full-time-job and not feel completely shitty about myself. While I am working on more than one thing to accomplish this goal, I figured this was a good time to revisit that whole blog thing I had been dreaming about for years now.

So like any normal person, I did the least important thing first. I came up with a name and bought the .com domain name. Well, I had already had 3 years to think about what I wanted to write about. Which I had decided, was everything. It’s taken me a while to become comfortable with the realisation that I am a fox. It wasn’t easy, given that I was brought up hearing things like “Jack of all trades, master of none” and without being told, knowing that it was a bad thing. Or the dubious looks that one receives when you say “A lot of things” when asked “What are you good at?”. Come on, you asked me what I am good at not what I am an expert in (the answer to which, let’s face it, would get flabbergasted how-can-you-be-an-expert-at-nothing looks). We really need to lay off generalist people. They already have to deal with regular existential crises. I speak from experience, unfortunately.
I was clear I did not want the blog to just be “Aamna Khan’s Blog”. It did not feel right. Also when you’re a nobody I think it’s confusing for other people. They’ll wonder, who is this person? Am I suppose to know him/her? This blog had to be a separate entity. So after some mulling I decided to name it after one of my favourite dialogues from Storm - The Animated Movie, a short film by Tim Minchin.
I’m a tiny, insignificant, ignorant bit of carbon
It seemed fitting somehow.
Design a logo
Logos are cool so I wanted one. I couldn’t find a suitable existing icon/logo that was free to use so decided to make one for myself in Figma. It involved bothering my friend and ex-colleague Yatish a lot (who besides being super patient with me is an excellent graphic designer). I must say, I am quite happy with it.
 .
.
Procrastinate once again
Nothing much to say about this step. Just learn from my mistakes, please.
Blog tech setup
As I mentioned earlier, I daydreamed about this blog for 3 years. Thanks to a few false starts, I had already researched various blogging platforms. As my comfort with the command line and Ruby has grown leaps and bounds over the years, I found Jekyll to be perfect for the job. The GitPages integration made it even more appealing. It takes practically 3 mins to setup and publish a blog with Jekyll and GitPages. It’s fantastic.
I chose the Minimal Mistakes by Daniel Rose for it’s versatility and because it’s well maintained. Each post can have a different layout if required with a header image or video or nothing at all. And it’s so easy. It’s very powerful and has a good community so help is easy to find.
I struggled a bit with the remote theme configurations but got it working finally.
Design customisations
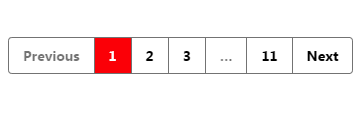
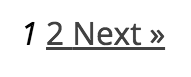
This was my least favourite part of the process. I edited the existing CSS to use custom fonts (Fira Sans & Open Sans), changed a few theme colours and page widths, swapped the paginator for a minimalist one and made some tiny aesthetic edits. I was hoping this would only require changing a single file as I do not enjoy working with CSS and JS but alas, that was not to be the case.
Custom Domain + SSL
This turned out to be more painful than it had to be because many years ago I made the rookie mistake of buying my domain name from Bigrock.in. Once you login, it becomes pretty clear that the name of the site refers to what their user interface has been living under. Though my real complaint is that if I must use such an intimidating interface at least it should allow me to launch a man into space?
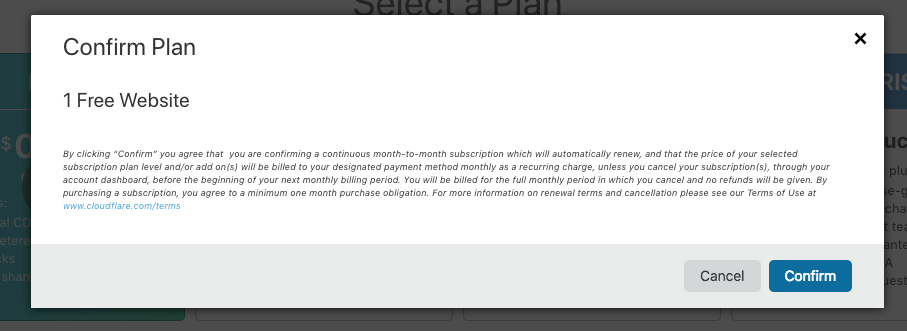
My friend Shekhar found a way to get free SSL for your website so free SSL I got. Here are the quick steps to getting your custom domain with SSL set up for a Jekyll + GitPages blog.
-
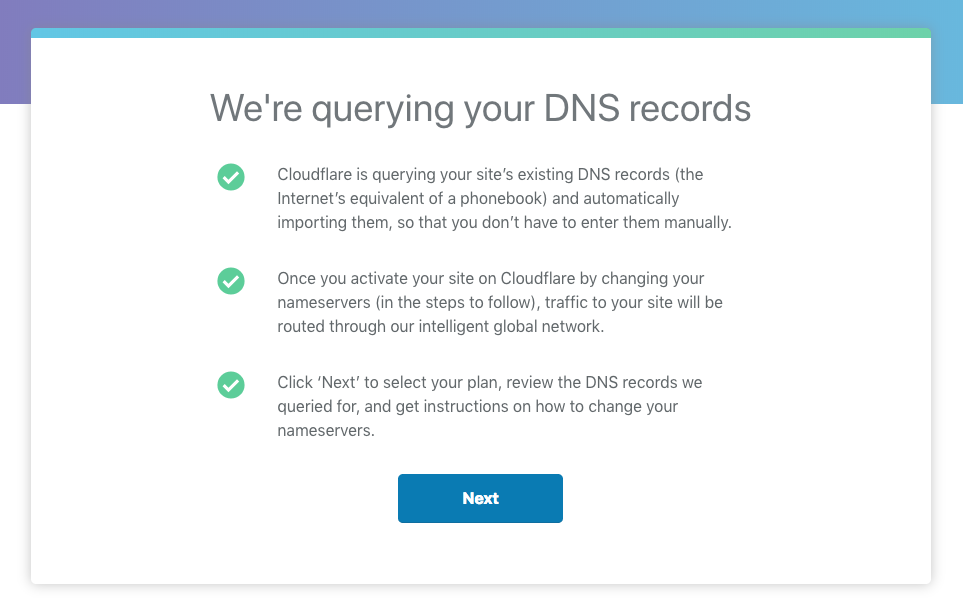
Create a Cloudflare account and add a new site
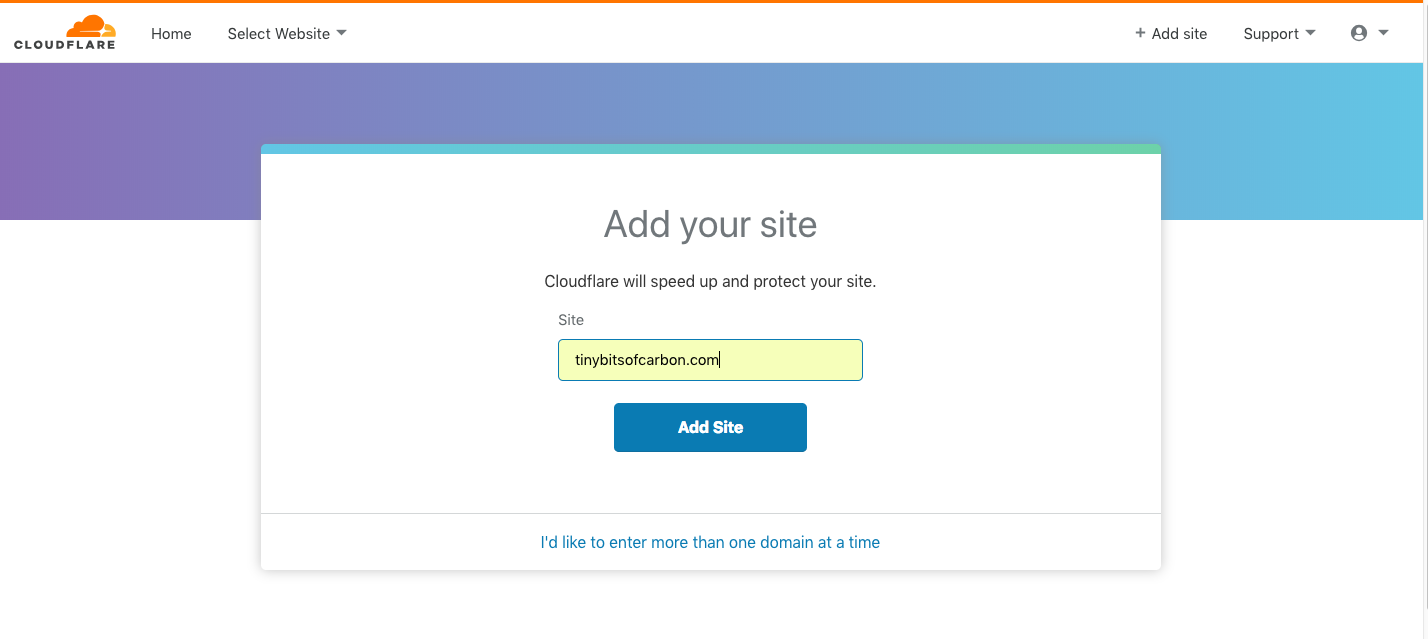
Cloudflare will fetch all the existing A, CNAME etc records for your domain to ensure that all else keep working as expected.
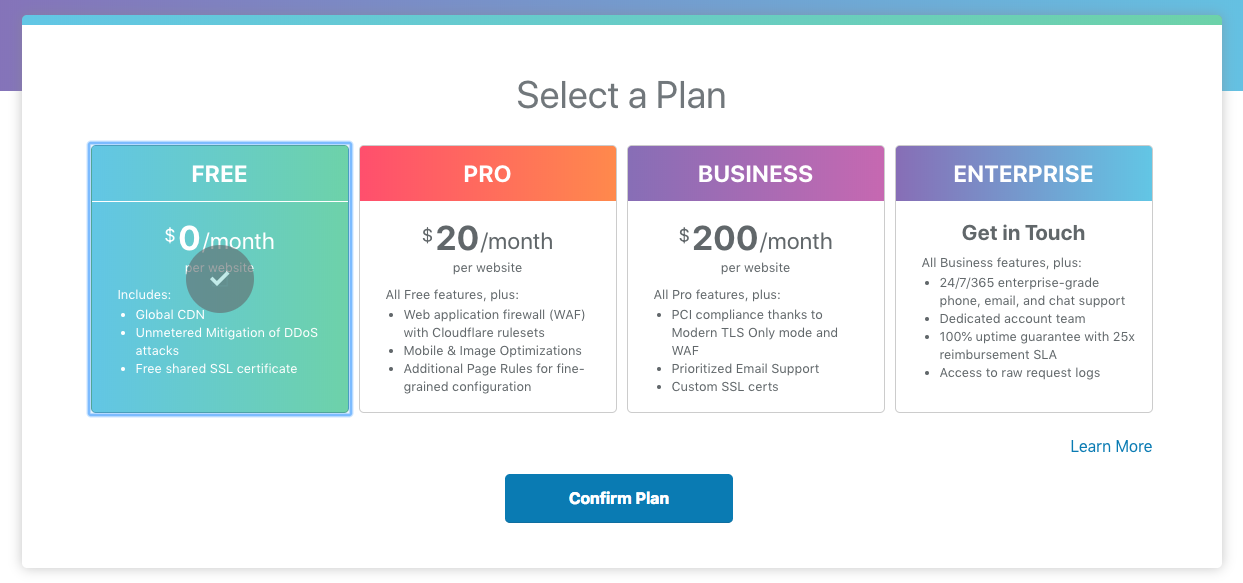
Pick the free plan that offers shared SSL.
-
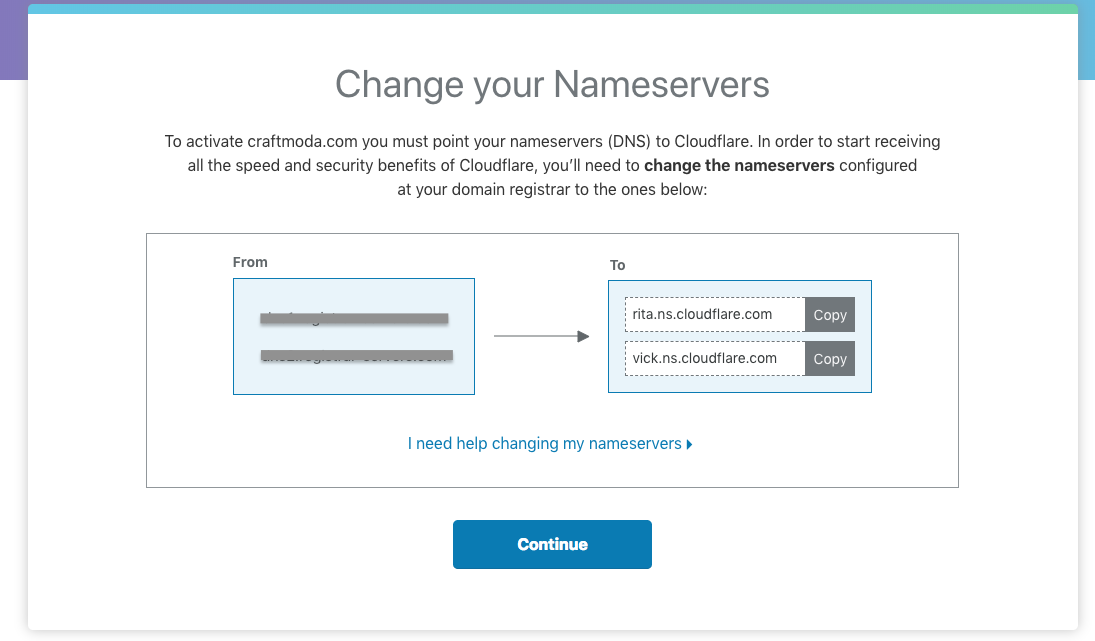
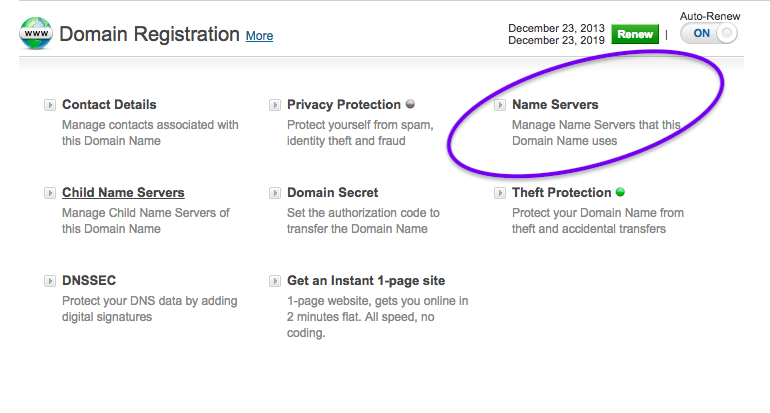
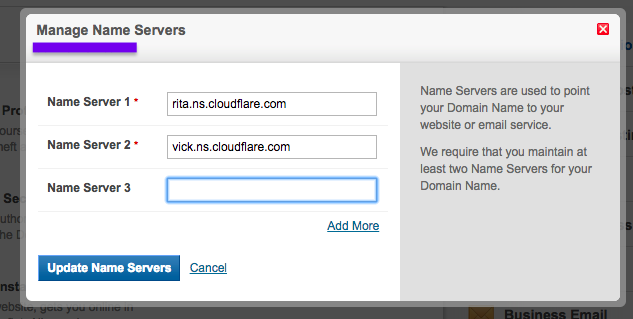
Now login to manage.bigrock.in (or if you were smarter than me then the other service you used to buy your domain) and change the name servers as instructed by Cloudflare
-
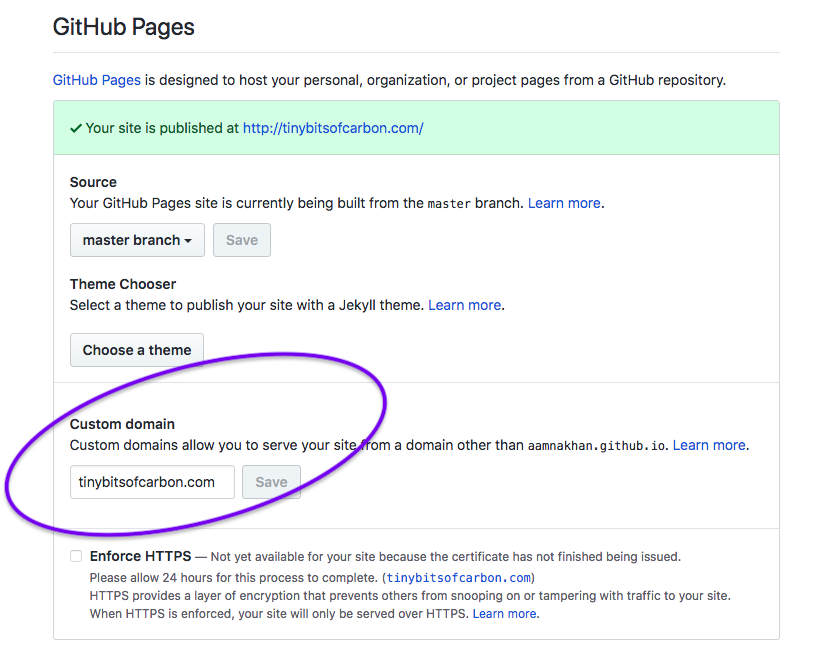
The final step of this process setting up your custom domain on GitHub and configuring the required A records in Cloudflare. In your GitHub repo, access the settings.

Under GitHub Pages, add your custom domain.
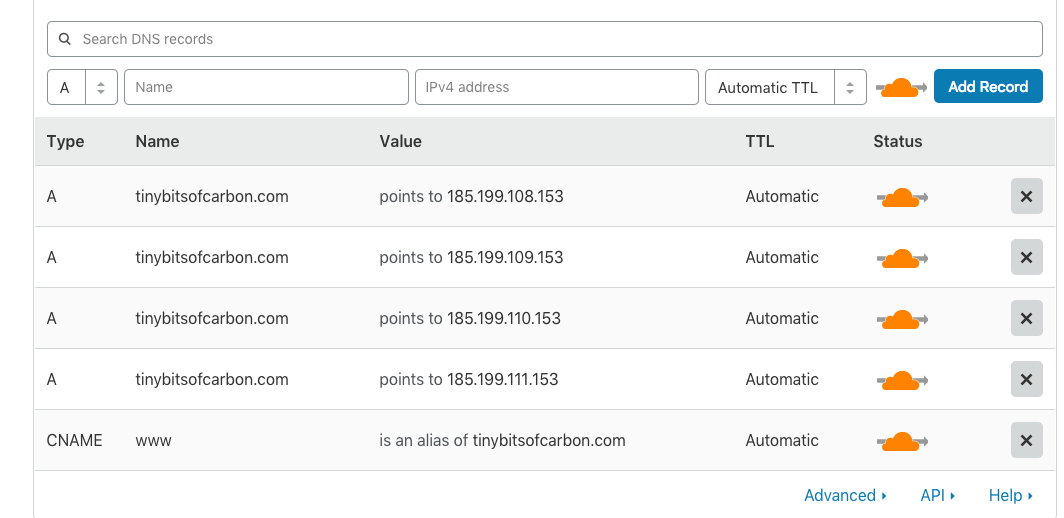
Configure the A records in Cloudflare according to the instructions on this GitHub page.

And you should be able to access your site on your custom domain in some time (it varies, mine was live almost instantly).
Optimise for SEO
Next, I optimised the site for SEO and social sharing.
- Meta tags - The very powerful variables in the _config.yml file help out here.
- Sitemap & Robots.txt files: The jekyll-sitemap plugin autogenerates a sitemap every time your site is built. Pretty handy, didn’t have to do anything except add the plugin. Added the Robots.txt file manually. To decide what to include in this file, read this article from Moz.com.
- Added the site on Webmaster Tools.
Add email capture form
There are a bunch of tools that help you capture email addresses. Ones like Sumo and Sleeknote offer popups which I personally detest. I wanted an embed I could add at the end of my posts. One very popular tool used for this purpose by a lot of Medium writers is Upscribe. It doesn’t have a free tier though, so I chose to go with MailChimp instead.
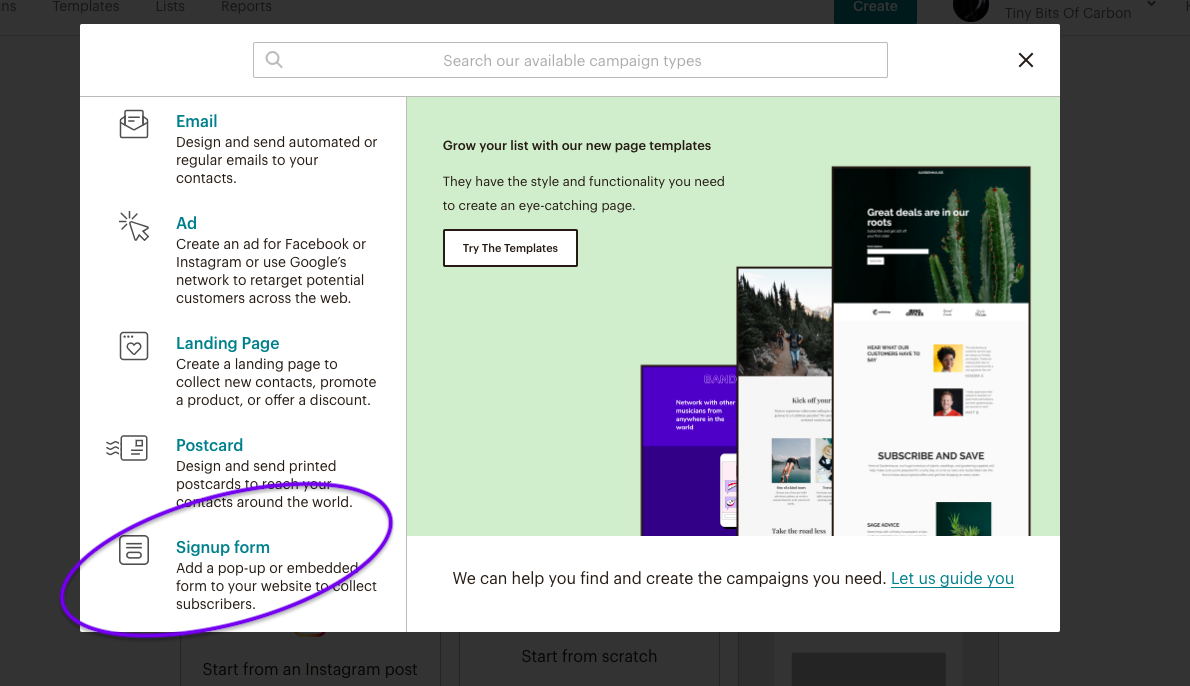
I created a new Sign-up form in MailChimp

Signup Forms can be found under the ‘Create Campaign’ section.
MailChimp lets you select which list you wish to add the subscribers to.
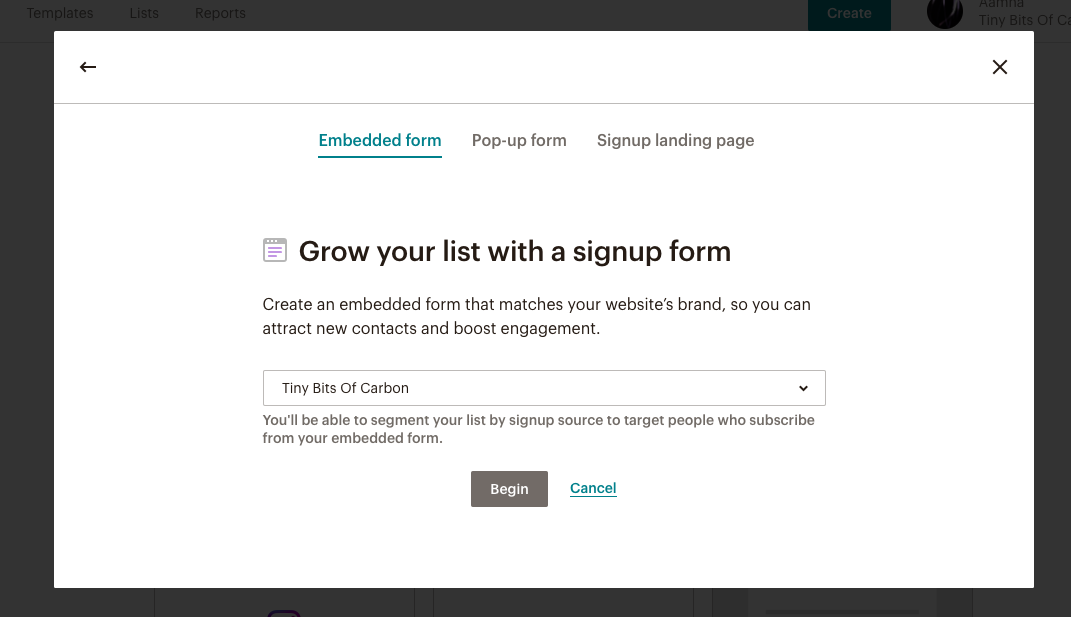
It also offers variations of the form embed.
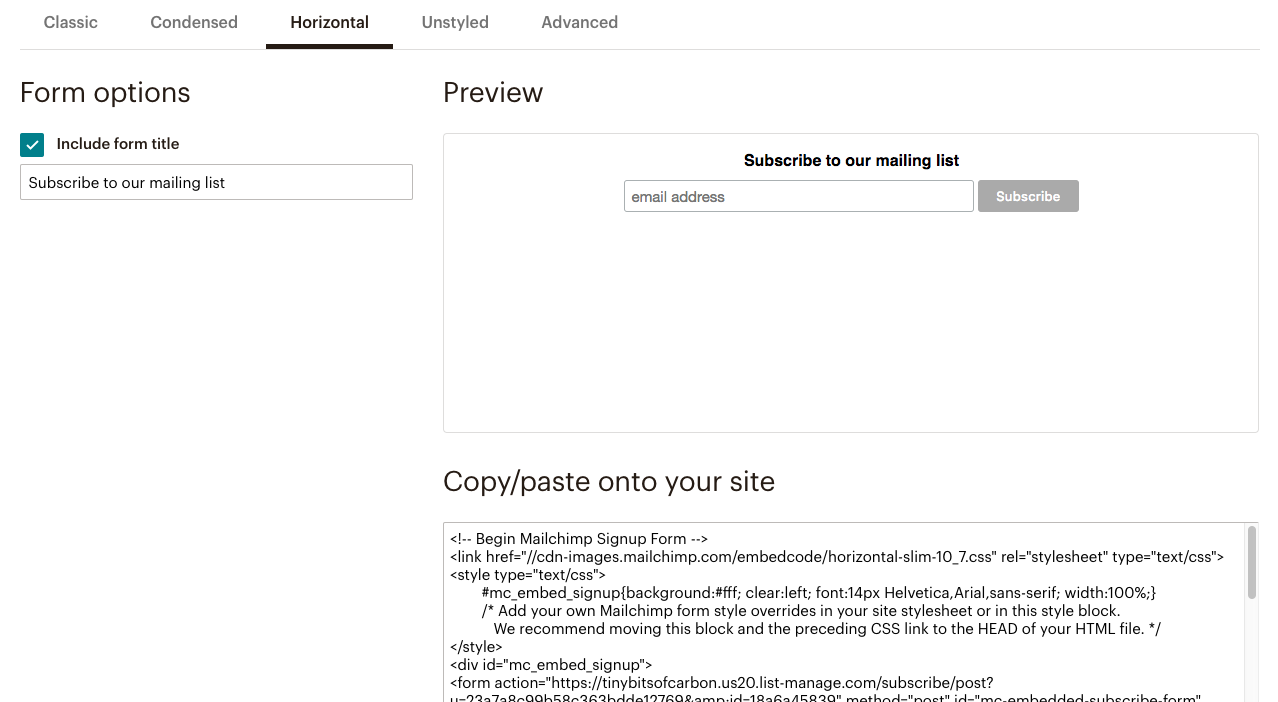
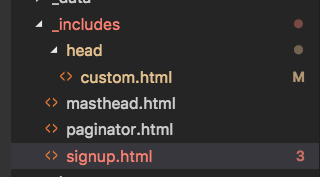
I created a partial _signup.html in my _includes folder and edited the copy pasted MailChimp code to my requirements.
I edited the config file to display the signup form on post pages only
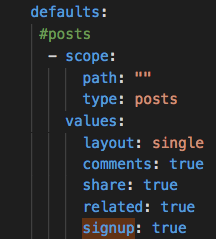
Finally, I added the following code to my single.html layout file

That was all. I look forward to getting into the steady habit of writing again. All the best to me, I suppose.


Leave a comment